All posts by Chris

The Chopster build part 11

(this was originally posted on VolksRods.com while I built the car)

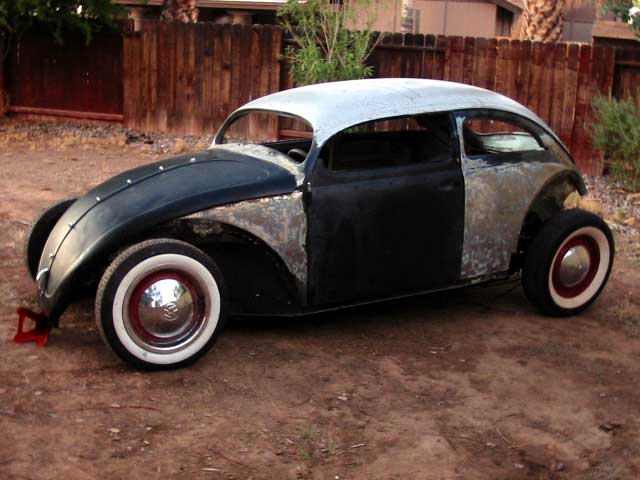
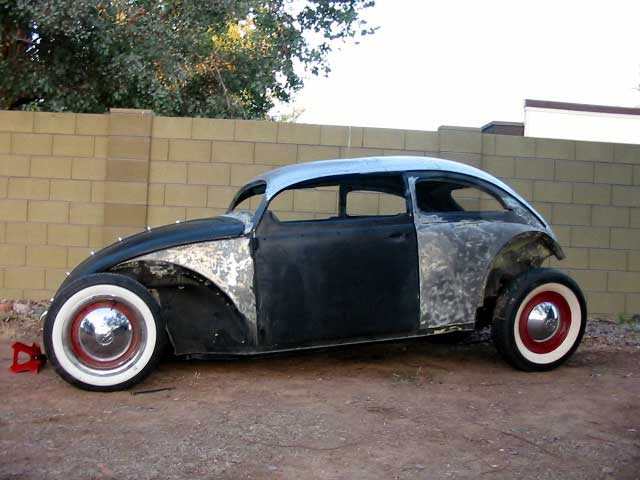
Here’s some pics from Monday:

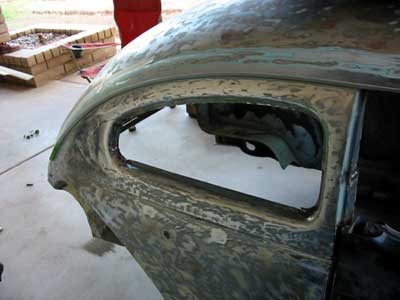
The rear side window…
I re-shaped the back curve using pieces from the donor top. The inside lip isn’t real nice, but the outer curve (the part you’ll see after the windows are in) is OK.
They’ll take a bit of bumping to get the C pillar back in shape…

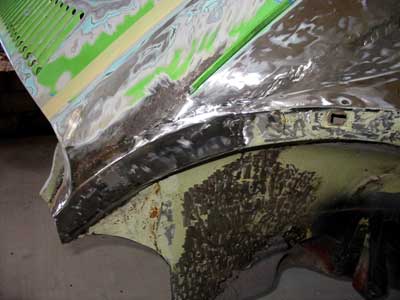
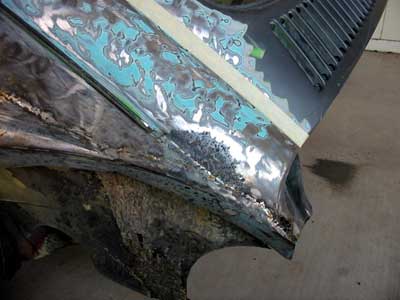
Here are the patch panels I had to make out of some more scraps. When the top was dropped onto the bottom, the wheel well/ drip rail/ decklid corner got really ugly. I shaped and welded the patches in to extend the fender mounting surface up in a natural arc. I also shortened the drip rail about 5″.
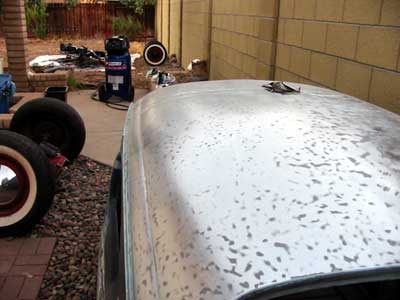
You can also see some rot that was on the donor top.

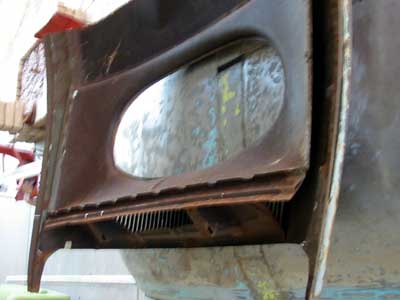
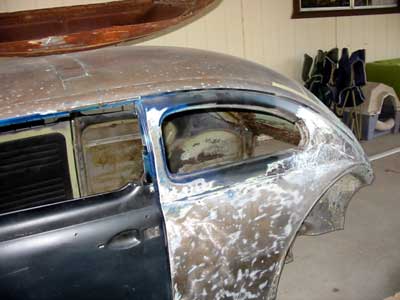
I cleaned up my Oval donor clip for installation:

The Chopster build part 10

(this was originally posted on VolksRods.com while I built the car)

Just as I suspected, the project has *officially* gone completely out of control.

I can only blame myself.

The original plans were to chop the roof on and drive the thing– welds exposed and unground and all. But then I found myself trying to make it look *nice*, and that was it’s undoing. So, here I am, about a month over schedule with a car I’m still obsessing over. Things could be worse.

Anyway, back to the progress!

Glenn (pimp syncro) has donated a sunroof ‘hole’ and brought an oval window section back from a local swap. I stopped by last night to brainstorm on the install.

I need to take more pics, but the rear side windows are done and re-radiused, and the rear is finally trimmed off.

Theres a new panic point, and that is motor-to-body clearance. Walt’s fan shoud runs pretty close to the body, and that’s with just the ‘leatherman’ chop. My car will also be channeled and possibly tranny raised 1″. I may need to change the motor tins to Type 3, but that will increase the length of the motor and I’ll need to re-think the decklid. If I get very lucky I may be able to tuck the motor up behind the vents on the Oval section. It’s a lot bigger than the late style, but I’m not sure it’ll line up right. I’ll keep ya posted.

The Chopster build part 9

(this was originally posted on VolksRods.com while I built the car)

Halloween!

I got the pan and trans painted and together, and Glenn robbed me of my drop spindles… as we were swapping them, Glenn suggested we throw the body on the pan for the Party he was having that night.
One thing lead to another and within a few minutes, the seat rails were chopped out, the trailing arms flipped (for now, until I build the new beam) and we threw it up there:

The rear isn’t lowered yet (duh)
Hey, it’s Rosie the Riviter and the dog from Fraiser!


The Chopster build part 8

(this was originally posted on VolksRods.com while I built the car)

Had a decent weekend.

Got the body stripped of paint, sourced some early style 1-piece window doors (nobody wants them anymore), and I got the pan painted.

Here’s a pic of the roof:

Even tho it looks pretty good, I think I’m putting a rag into it. AZ in the spring and fall is far too nice not to. I’ll also throw an oval window into it– then get it into prime.

Color choice for today (it changes almost daily):
–Chocolate brown Satin with gloss red 2-finger scalops w/ white pinstriping.

The Chopster build part 7

(this was originally posted on VolksRods.com while I built the car)

Uggg… here’s the latest report.

Shortly after getting the front half of the roof on, I got sick for about a week– and then had out of town guests spend 4 days at my house…
So I have wasted about 10 days or so, and will not make my 30-calendar-day goal to get the body back in 1 piece.
I’m obviously going to keep going— at the same pace– I’ll keep you posted on the exact days and a rough amount of hours as well… If I could do it in 30 working days, that’d be cool.

I estimate about 100 hours into getting the body cut and welded. 80 of them are probably sitting, staring at the car and moving tools to and from the garage.

My friend suggested using a ratchet strap to align the pillars closer to each other and put the roof ‘into shape’. Worked great. I’m a little concerned that the A pillars may be a touch too high (the drip rail must flow nicely), but we’ll see when I get the rest of the roof on.
I got three (out of 4) roof filler sections on yesterday and it’s pulling together well.

I also filled the trim holes and all the misc holes on the driverside.

I can put about 3-4 hours in tonight.

Chiuauas are everywhere here… They’re like cockroaches. You can’t step a few feet without a few crunching under your toes.

J/K, that’s one of my helpers. We’re both pissed at the roof. What a whore it’s been. There’s still a slight ripple in it, and If I can’t cure it with filler I’m cutting a ragtop in.