VW Rabbit Caribe Hatch Stripe Decal

caribe.hatch01
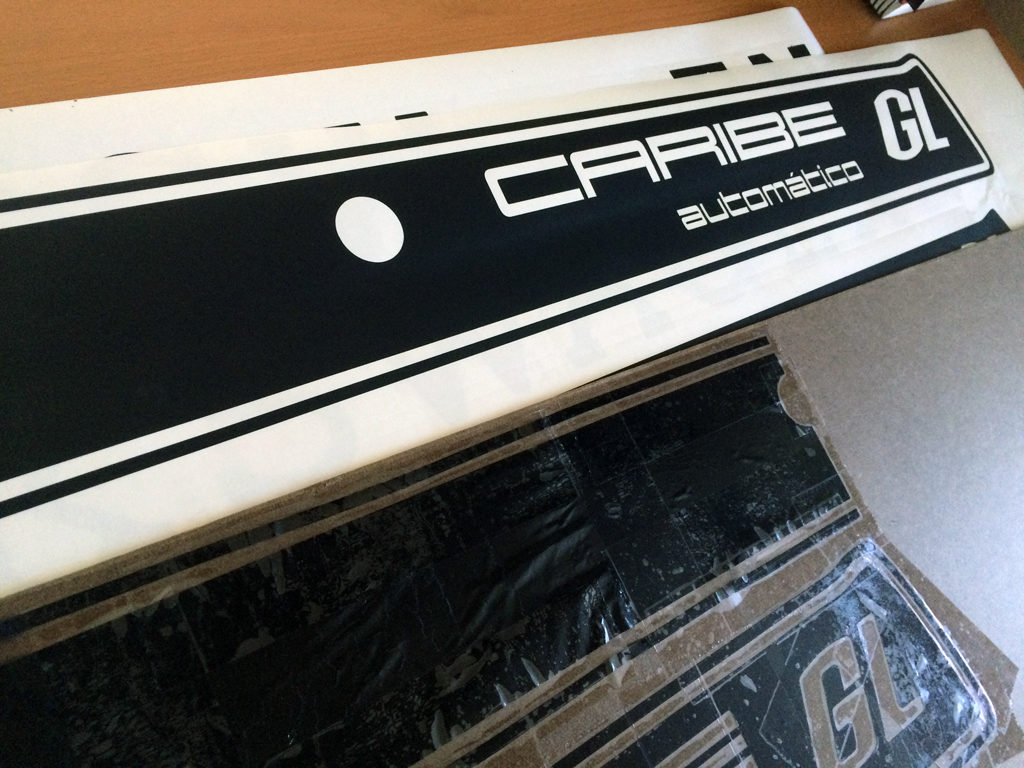
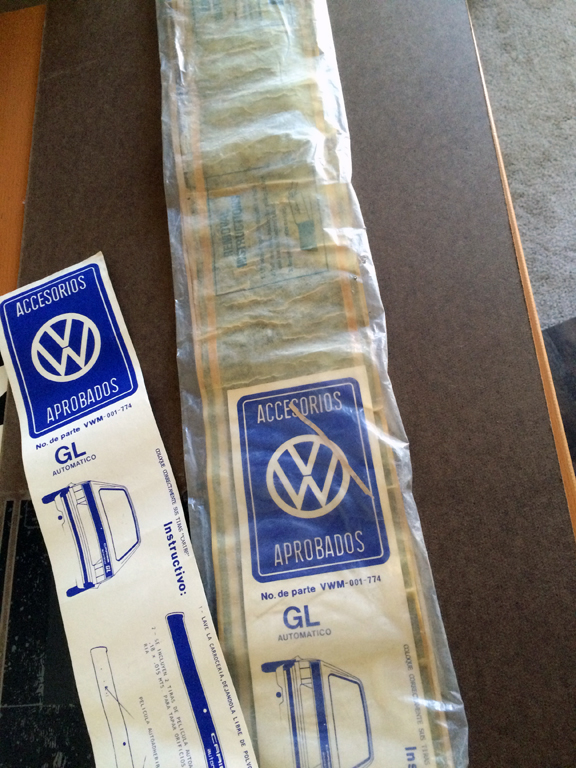
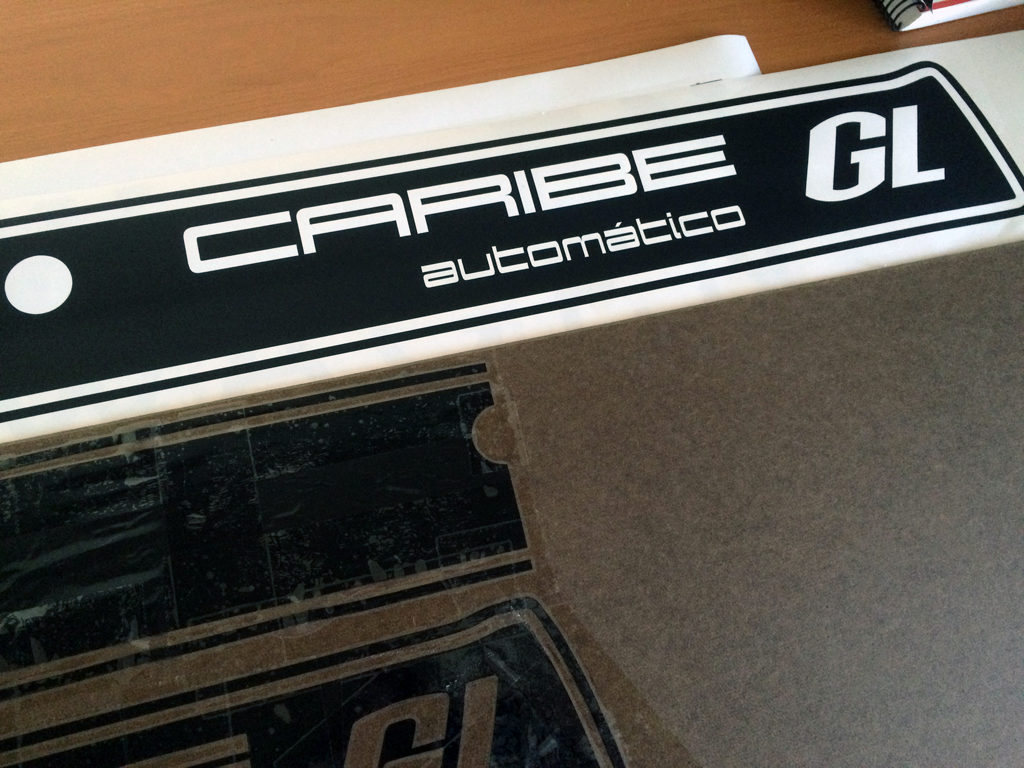
I found a pair of cool old NOS ‘Caribe’ rear hatch decals.  The Caribe is the Mexican market name for the Mk1 Golf/ Rabbit.  I like it.

These stickers are *well* beyond their prime.  The old 3m vinyl is either not sticky at all, fragile like an onion skin, or gooey and gross.  These guys are all 3 at the same time.

caribe.hatch02

caribe.hatch03

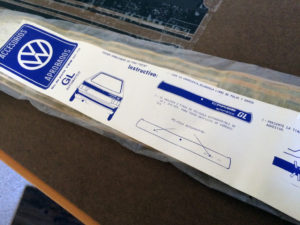
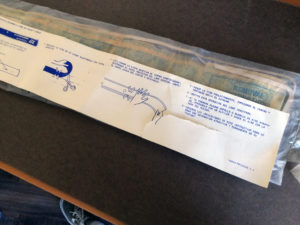
Here’s the Google Translation (engrish) for the sticker installation instructions:

Accessories
Approved

Number of part VWM-001-774

GL Automatic

Place correctly their strips "caribe"

Instructive:
1- wash the car body , leaving it free of dust and grease
2- 2 strips of self-adhering film .18 x .015 meters are included . to plug holes bodywork
3- This strip holding it in place with adhesive tape
4- using the tape to the center as a " hinge" peel off the protective paper on the right side , cut the paper near the center and discard
5- paste the strip gradually , starting in the center and towards the end front
6- repeat this opereacion the left side
7- if any blisters or trapped air bubbles formed, drill a hole with a pin and pull the air with the tip of the thumb
8- observe the directions of this instruction to the grate an attractive and permanent decoration of its " Caribbean"

caribe.hatch04
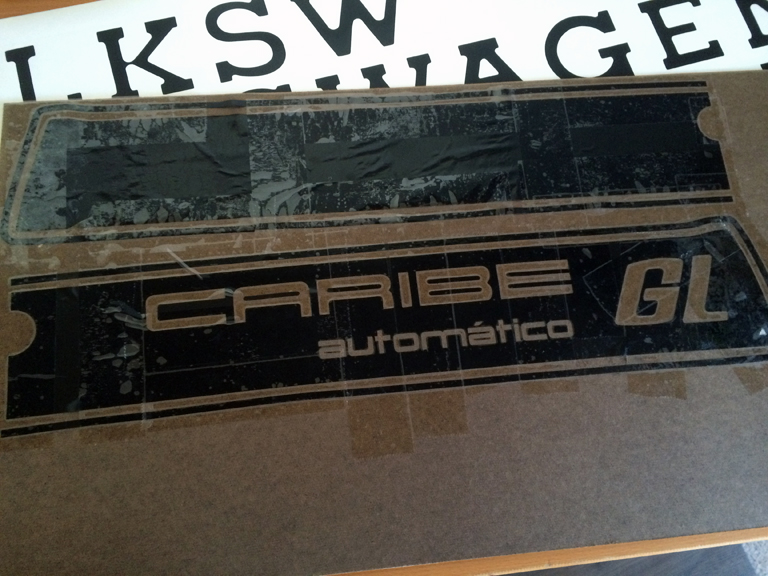
I cut one in half (in the name of science!) and used packing tape to stick it to a piece of fiberboard.  Made some measurements and… a bitchin’ new sticker is born.


caribe.hatch05

I no longer have a Mk1, so who is going to step up and run the Caribe logo on their Rabbit?  $35 for the one pictured.  I can modify these to say other things as well… RABBIT diesel S, RABBIT fuel injection GTI, etc.  We can get weird if that’s your thing, too.

These are cut from the Automotive-grade Oracal that I always use.  No cheapy vinyl here!

caribe.hatch06

I sold The Black Car

Yep, I haven’t posted for a while, so I’ve got a bunch of things to tell.

The Black Car has sold.  Since I’ve been working from home, I started to feel that I didn’t need two cars.  I probably won’t be racing again anytime soon, so I’ll probably be converting The White Car back to daily driver status.

I did remove the Lotus Elise seats and stuck a bumper on that had no cracked paint.  The Garage Vary clone spoiler is pretty polarizing; I didn’t care for it, but I left it on anyway.   After a quick polish, the paint came out great.  Here’s some parting shots:

For Sale: 1991 BRG Mazda Miata; project/ repair $1000

Photo Jun 09, 12 27 31 PM

1991 Mazda Miata, $1000
-Special edition; #676 out of 4000
-British Racing Green w/ tan perforated Leather / chrome wheels
-LSD rear, manual 5 speed trans
-KYB AGX adjustable shocks
-Track dog racing heat shield, header, custom exhaust
-Optional chrome ‘daisies’, tires look fantastic (comes with 4 spare centercaps)
-Haartz stay-fast canvas roof with glass window (needs to be sewn back in)
-CA sticker for APR 2016
-1.6L motor is very clean inside (see pics)
-204554 miles, but very well maintained (HUGE pile of receipts inc. oil changes)
-Timing belt done 20k ago (180609mi), according to records
-NOT A SALVAGE TITLE!

Front end damage:
-I pulled the driver side front fender and the bumper off, to roughly pull the crash damage out to make the car drivable.
-the AC condenser was removed, and the radiator was temporarily installed.
-the car will need a new front rad support/ bumper mount as pictured below. These go for about $150 at the breakers yards; I’ve spoken to Craigslisters who will sell the front clip for $100. The part is the white one in the pictures. It is NOT included.
-the car had a non-airbag steering wheel in it when I got it. I am keeping it and supplying a pretty ratty stock wheel with no airbag in it’s place.

The car is drivable as-is, but you should use this to get it to where ever you are going to repair it and not daily drive it this way. My repair was intended to be temporary!

Extras:
-The carpet is ripped by the driver’s foot. I have another complete carpet kit you can have
-I have unbent headlight assemblies that are included
-all the bits and chunks that were removed when making the car drivable are included. You are getting the complete car!

If you are going to use this to make a track car/ 24hrs of Lemons/ ChumpCar contender, I may be able to work on the price by taking parts that I can sell off of it.

Please contact me with any questions, or to set up a time to come see/ test drive it. I am available during the day. I prefer to communicate by email.

Come make a reasonable offer and drive it home!

This slideshow requires JavaScript.

Quick and Dirty Bomber Seat Plans

bomber.seat.plans.1Here’s a quick drawing for some aluminum bomber seats.

These are made from .090″ 5052-H32 Aluminum.

bomber.seat.plans.2Use the construction lines on the drawing to note where the sides and back roll up.  Roll up the edges with a 2″ radius; roll the back up with a 3″ radius to about 60degrees.  After you roll the back up, the sides should overlap; rivet them together.

You’re on your own with mounting them into whatever deathtrap /hot rod you’re building.

bomber.seat.plans.3

Contact me if you want the SolidWorks .sldprt