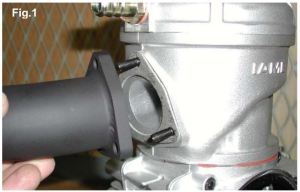
THE ENGINE IS SUPPLIED WITH THE EXHAUST GASKET AND NUTS ALREADY INSERTED. WHEN THE SHIPMENT IS MADE AN EXHAUST COVER IS INSTALLED TO PROTECT THE INTERNAL PARTS.
- REMOVE THE NUTS AND THE EXHAUST COVER.
 MAKE SURE THE EXHAUST GASKET IS SEATED AND INSTALL THE EXHAUST HEADER
- INSTALL THE WASHERS
- SUGGESTION: PUT THE ENGINE IN HORIZONTAL POSITION AND SET INTO POSITION THE WASHERS WITH A SCREWDRIVER.
- INSTALL THE THREE NUTS.
- 10 mm SOCKET WRENCH (OR 10 mm OPEN WRENCH.)
- TORQUE AT 9 to 11 Nm (80 to 100 in-lb)
PREPARATION AND INSTALLATION OF THE MOTOR MOUNT
NOTE: ALL DIMENSIONS ARE IN MILLIMETERS
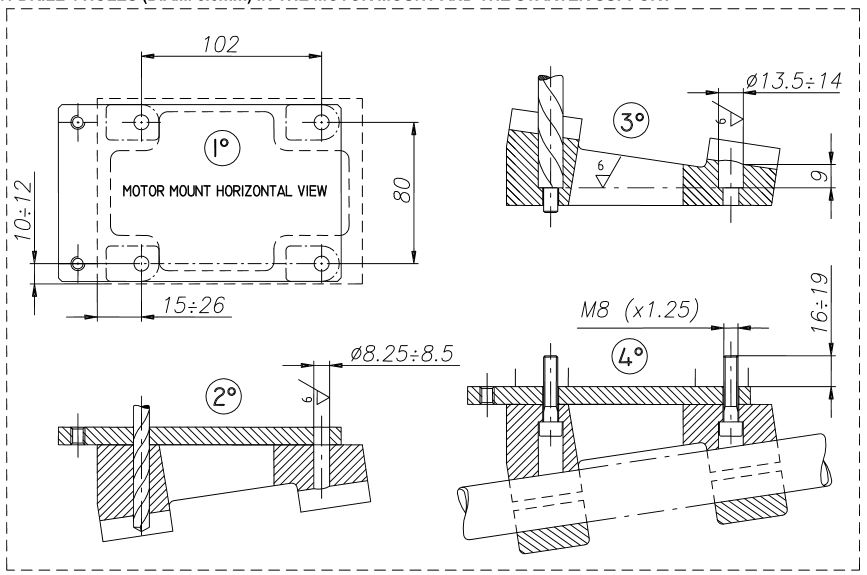
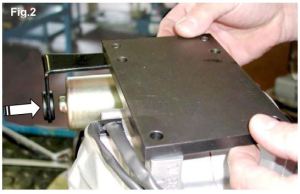 1. BEFORE INSTALLING THE MOTOR MOUNT, POSITION THE ADDITIONAL MOUNT PLATE ON THE CRANKCASE (SEE FIG. 2) AND MAKE SURE THAT THE RUBBER RING IN THE SUPPORT IS INSERTED ON THE STARTER BODY.
2. 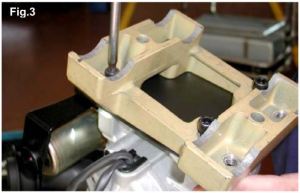 INSTALL THE MOTOR MOUNT. MAKE SURE TO USE M8 ALLEN SCREWS WITH A LENGTH SUCH AS TO ENGAGE, IN THE CRANKCASE, A THREADED PORTION LENGTH OF 16 to 19mm (THE SCREW MUST PROTRUDE FROM THE PLATE FOR 16 to 19mm)
4 ALLEN SCREWS M8 – TORQUE AT 22 to 24 Nm (190 to 210 in-lb)
INSTALL THE CARBURETOR
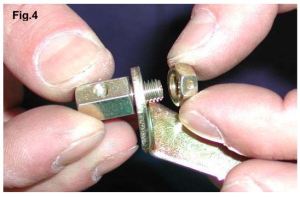 1. Install the gas cable clamp on the support with a 12 pt wrench
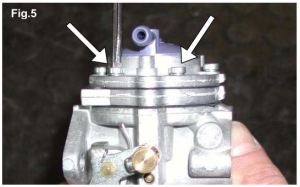 2. REMOVE 2 SCREWS 3.5mm ON THE CARB. PUMP (IN CORRES- PONDENCE OF THE THROTTLE LEVER) (SEE FIG. 5)
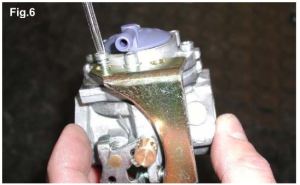 3. Install the throttle bracket and the 2 screws. (fig 6)
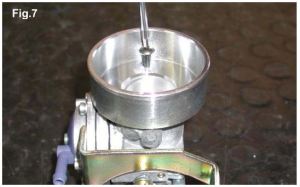 4. Install the intake support screws M5x10 (fig7)
5. Install the Carburetor.
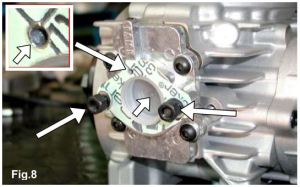 Remove the 2 M6 nuts from the inlet manifold
- Remove the plastic plug from the inlet manifold
- Make sure the pressure hole on the gasket is not plugged!
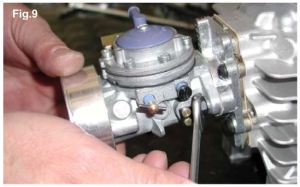 When replacing the carb gasket, always make sure that the gasket is installed so that the hole in the gasket matches with the 2 pressure holes in the carb and in the crankcase: otherwise, the engine will not start.
- N.2 nuts, M6 and 2 washers. Torque to 6 -10 Nm (50-90 inlb)

